Building an Industrial Control Panel: The skilled teams behind the process
Building quality control panels is a team effort. At UCEC, each of our control cabinets is created by the collaborative efforts of seven dedicated teams. These skilled craftsmen work closely with the client and each other to create a client roadmap that will ultimately deliver a custom control panel at a fair price. Operations Support Managers, Garrod Massey, walks us through these seven teams and the process of building a control panel all the way from quoting to shipping.
Steps to Building a Control Panel:
Step 1: Quoting
Step 2: Panel Pricing and Purchasing
Step 3: Assembling the Control Panel
Step 4: Control Panel Engraving
Step 5: Initial Quality Control Inspection
Step 6: Wiring the Control Panel
Step 7: Second Quality Control Inspection Process
Step 8: Shipping the Final Control Panel
Step 1: Quoting a New Control Panel Project
The quoting team has a combined 140 years’ experience. Their success comes down to two skills they’ve honed through the years: a deep experience building and wiring control panels plus a really good imagination.
Once a schematic arrives from a client, members on the quoting team match the schematics with the bill of materials provided. In some cases, they have to build their own bill of materials based on wiring diagrams alone. They do this to validate that no components have been overlooked in order to make the control panel a fully turnkey system.
Next, if the bill of materials is created from scratch, the quoting team will determine what type of cabinet size and design will be most efficient for housing all the parts & materials. Control cabinet sizing is like Goldilocks: you want the “just right” solution, not one that is going to be too big or too small to hold the necessary components. The completed bill of materials is uploaded into the cloud so the pricing team can begin their work.
Step 2: Pricing and Purchasing the Control Panel
Once the bill of materials is created, two members of the purchasing team begin working with their vendors to find the best combination of pricing and delivery time for the client’s project. The pricing team does a great job maintaining strong relationships with their vendors to accommodate rush projects and secure the best prices for our clients. All of this information is combined into a final quote sent to the customer for their review.
When the purchase order is received from the bid, the quoting team double checks the bill of materials to confirm the schematics and materials haven’t changed from what was first quoted. When everything is confirmed, the project moves on to the Purchasing Manager, Cindy Bybee to order the materials.
Step 3: Assembling the Control Panel
The assembly and engraving teams now begin to tackle the project in tandem. Once assembly gets the schematics and bill of materials, they examine the drawings for any mechanical concerns. They confirm all components are laid out per the manufacturer’s consideration, that there’s ample room inside the panel, and look for anything else in the layout of the panel that might prevent it from operating as efficiently as possible. If any concerns are identified, the assembly team will present them to the client with their proposed solutions.
Once everyone agrees on the layout of the panel, the assembly team takes the schematics and begins designing the exact physical layout of the control panel in the AutoCAD program. The design and the back panel or physical enclosure are all loaded into the MC-80 Steinhauer so the holes can be drilled precisely.
At this point, the assembly team installs some core control panel components such as the PLC rack, terminal blocks, line reactors, VFDs, HMIs, air conditioners, contactors, relays and circuit breakers. They tag each of these components for easy identification.
Step 4: Control Panel Engraving
The engraving team begins work on their job at the same time as the assembly team. First, they take the schematics and start looking for which devices need to be identified and if that identification should be on name plates or the terminal marker. The terminal marker is a plastic identification tag that clips onto the terminal block, a junction point for external and internal wiring. Control panels can have anywhere between 10 to a couple thousand terminal blocks. Once the engraving team identifies those items, they either engrave them on phenolic nameplates with their state-of-the-art engraving machine, or print them on the terminal markers before handing them off to the assembly team to install.
Step 5: Initial Quality Control Inspection
The quality control team reviews the schematics, engravings and the panel to make sure nothing has been overlooked. Once the control panel passes inspection, the quality control team passes it on, fully assembled, to the wiring team.
Step 6: Wiring the Control Panel
The members of UCEC’s wiring team and they are fueled by caffeine and creativity. Every panel has three types of wires: power, control and communication. The wiring team starts by reviewing the panel design and printing all of the wire labels to identify the different cable runs within the cabinet.
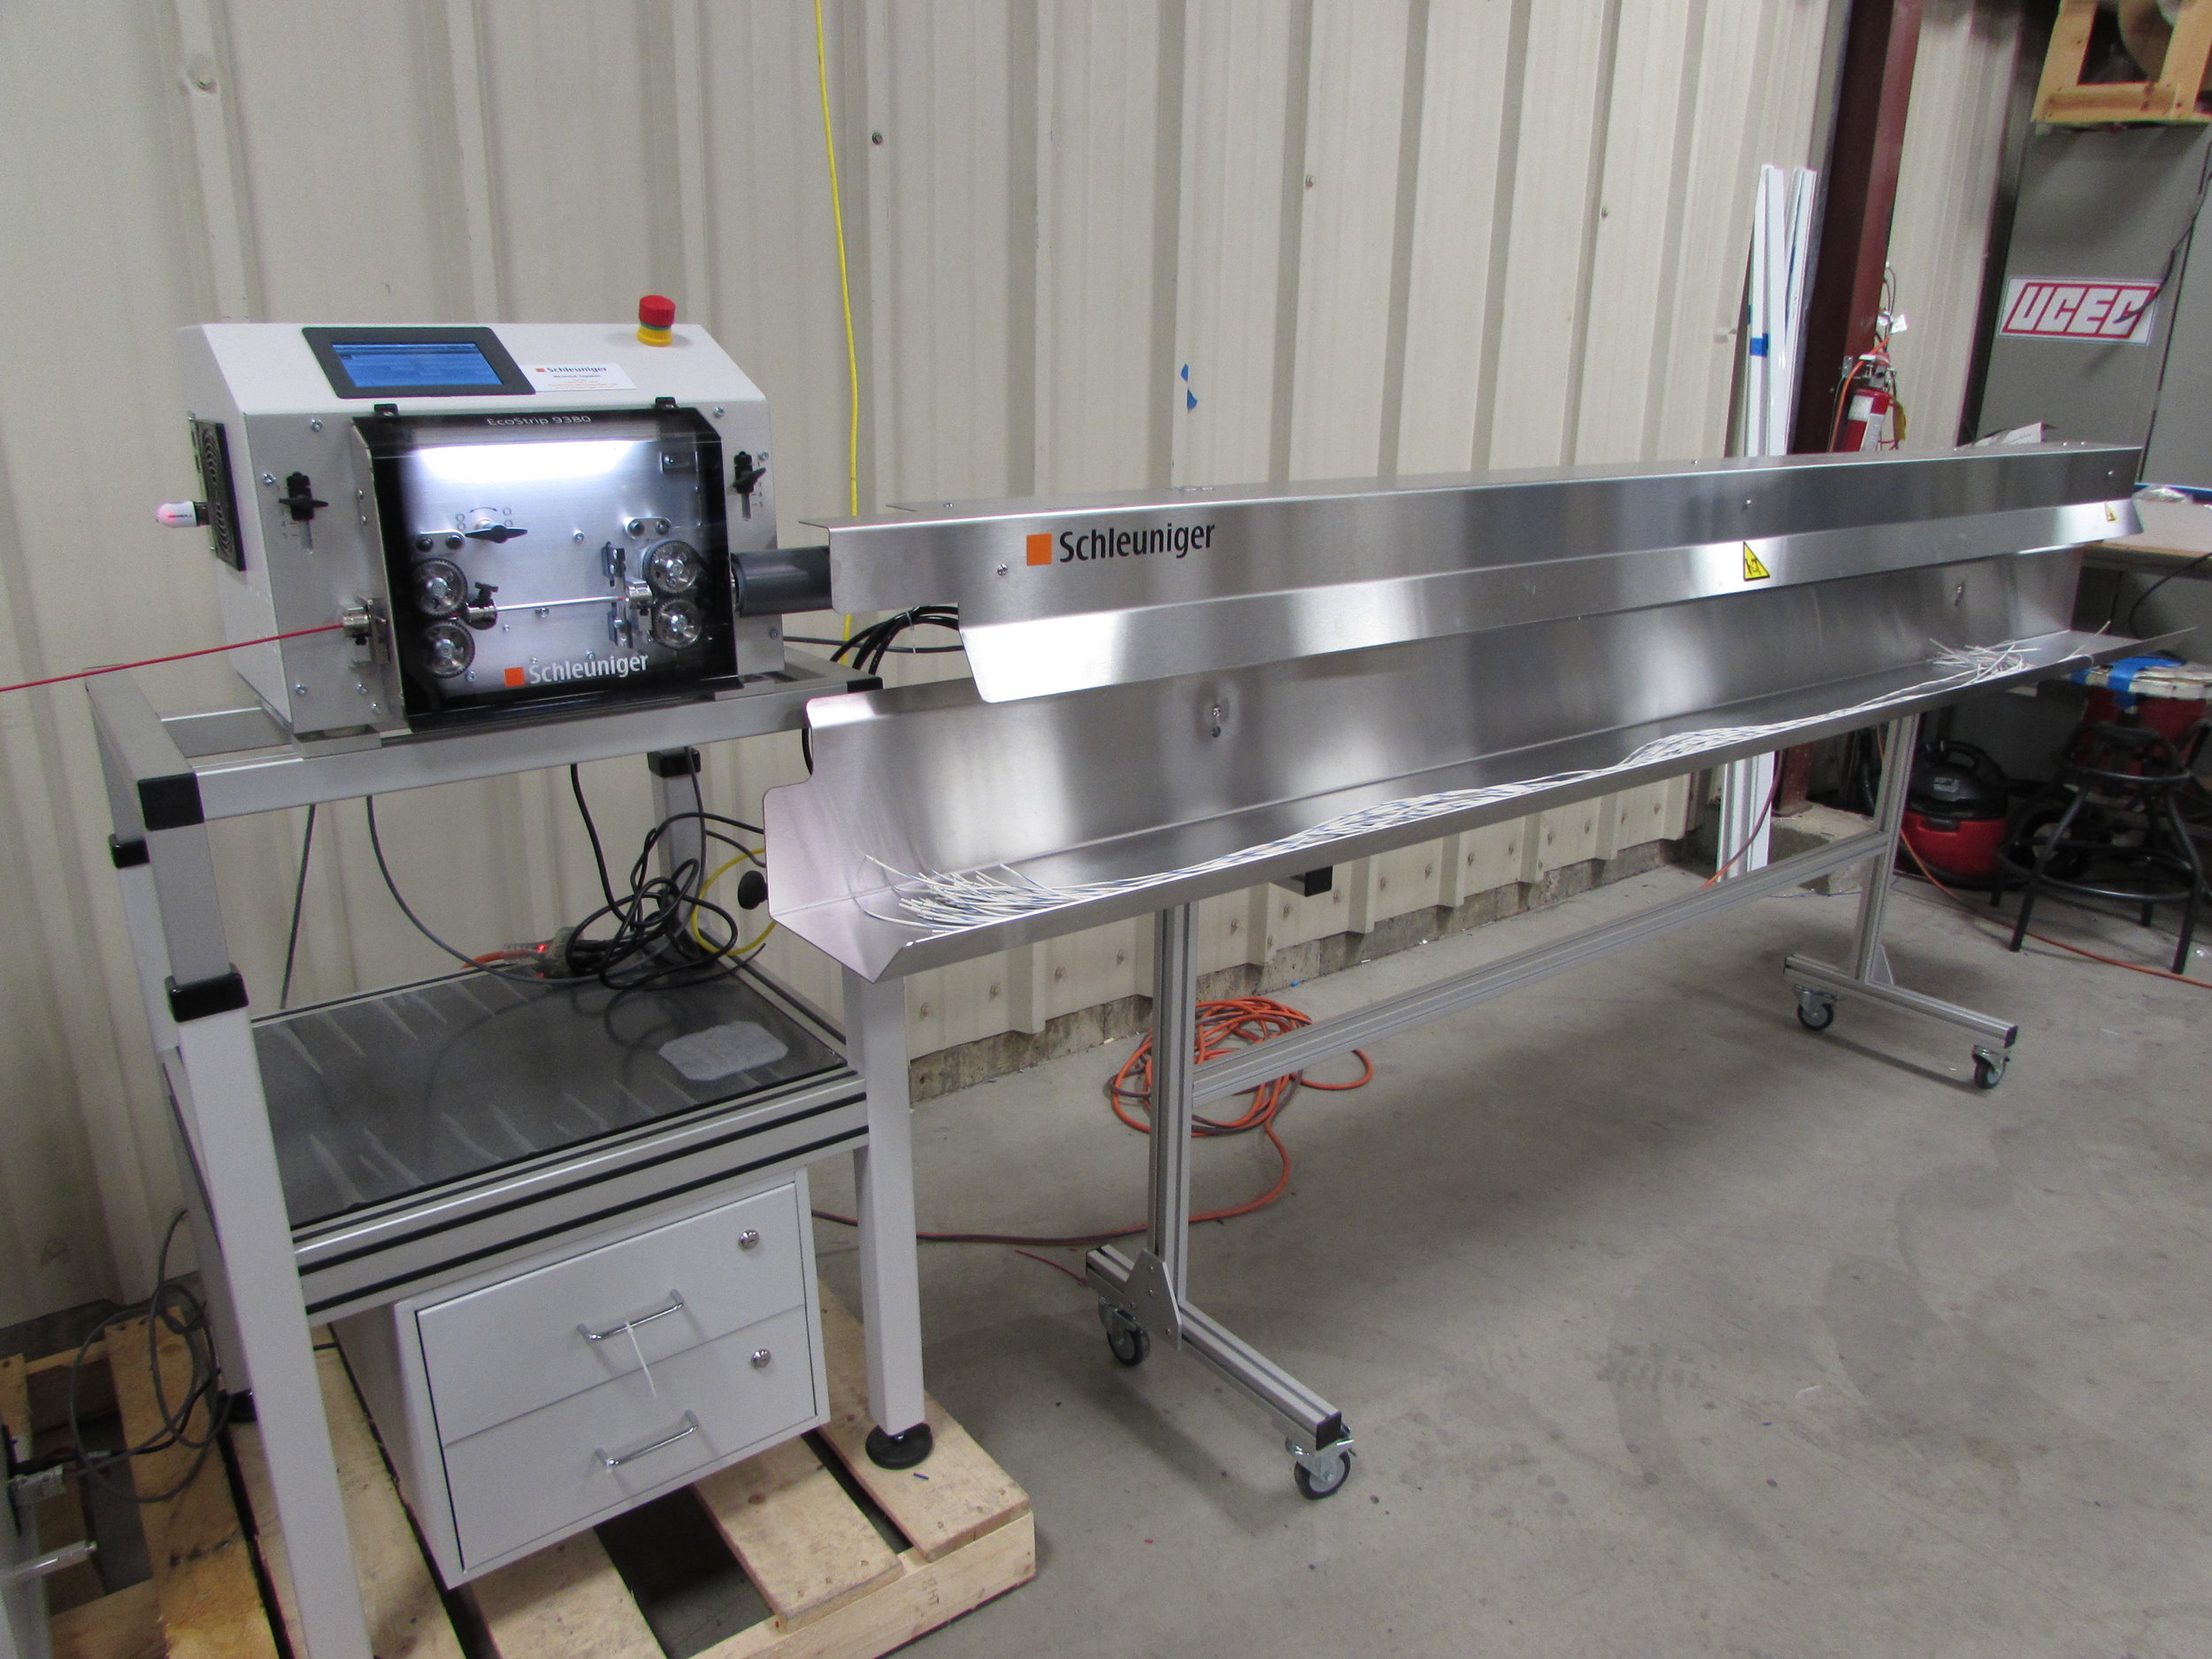
While they develop the wire tags, they also identify the wire type, gauge, and color needed, as well as termination direction (panel/field or line/load) based on the schematics, customer preference, and local electrical codes. Some customers have strict preferences of where the wires come out of the terminal blocks and the wiring team pays close attention to these requirements to cut the wires to the right length and avoid rework. The Schleuniger wire stripping and cutting machine, added to the shop in 2016, has improved the team’s consistency and efficiency in this part of the process. Once the wires are prepared, the actual wiring begins. Wiring a panel can take anywhere from one day to four weeks depending on the complexity of the project.
Step 7: Second Quality Control Inspection
This second quality control inspection primarily focuses on the electrical work the wiring team completed, but the QC team will also check the mechanical work again. The team checks the torque on all screws, reviews the print to ensure the wires are landed and wired correctly and checks the wires for shorts and continuity. Once the team ensures there are no shorts and everything is wired properly, they’ll apply voltage to the panel to confirm everything powers up appropriately and there are no manufacturer’s defects. Ron Siauw, the head of the QC team, performs functional tests on all electrical components within the control panel that don’t require a program to operate.
Customers are always welcome to visit the panel shop and most stop by after this second QC process to test the panel with their programs before shipping.
Step 8: Shipping the Final Control Panel
Shipping is the final step in the process of building quality control panels. The shipping team prepares the control panel for shipping by wrapping it in a cardboard box or strapping it to a wooden pallet. They fully document how the product leaves the facility, measure the package’s weight and dimensions and then schedule a truck for pickup.
Of course, the UCEC control panel shop has several projects going at once, so this process isn’t so much cyclical as it is never ending. Our tools and technology may have evolved throughout the years, but it’s these highly skilled teams who have enabled UCEC to deliver on its promise of quality control panels at a fair price for 60 years. If you’re interested in constructing a quality custom control panel, contact UCEC today.


